This page describes the basic setup of the Raspberry Pi, along with Apache, PHP, and MySQL for Library Pi. The more complex parts deal with granting remote access and changing file upload limits that we will be needing later. If you can setup up all these things, or have them already installed, you can skip to Stage 1.
Raspberry Pi Setup
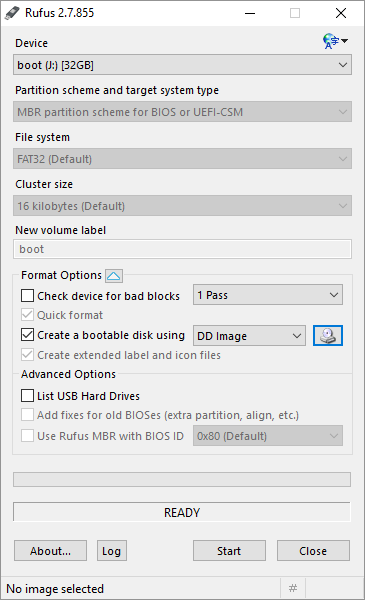
The first step in the setup is to obtain an image from https://www.raspberrypi.org/downloads/. I used 2016-02-26-raspbian-jessie-lite.img, but you should select the ‘Lite’ version. Using Rufus ( http://rufus.akeo.ie/ ), I copied the downloaded image file to an 32GB Micro SD Card:
Take the MicroSD card and insert it into the Raspberry Pi, and connect network and power cables and give it several minutes to boot up. Note that I am going to access the Pi remotely, so I don’t need to hook up a keyboard or monitor. If you hooked up a keyboard and monitor, skip to Logging in to the Raspberry Pi. You should be able to go to your network router and see the Pi device in your connected devices, something like this:
![]()
I can see that 10.0.0.29 is the IP of the Pi, so now I can remotely access it. If you have problems with this network access, hook up a monitor and keyboard to the Pi to see what IP address it’s using.
mRemoteNG
I am using mRemoteNG ( http://www.mremoteng.org/ ) to gain remote access to the Pi. In the setup, I created an SSH connection to that IP address:

And then in mRemoteNG I could connect to the Pi:
Logging in to the Raspberry Pi
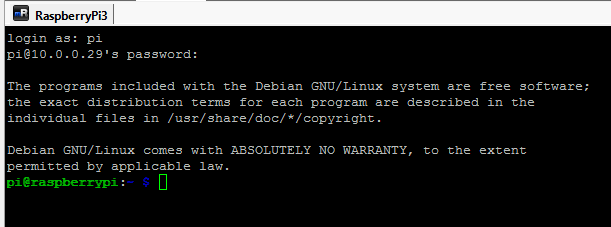
Using vi, I edited the /etc/hostname file to change the machines name to librarypi
sudo vi /etc/hostname
Then rebooted:
sudo reboot
And finally kicked off a system update:
sudo apt-get update && sudo apt-get upgrade
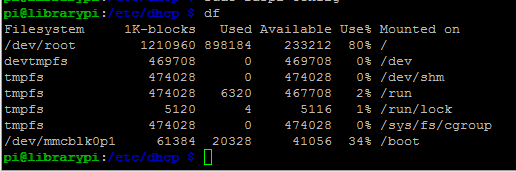
If you run df to check disk space you may notice that part of your 32G MicroSD card had been lost:
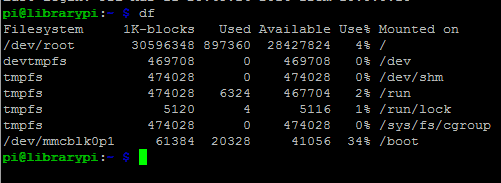
Running raspi-config under sudo fixed this:
sudo raspi-config
Select option 1. Expand Filesystem, and then reboot the Pi with sudo reboot:
![]()
Now the disk space looks correct:
Install Apache
Install the Apache2 web server:
sudo apt-get install apache2 apache2-utils
A quick test of Apache is to go directly to the IP address (10.0.0.29 in my case) using any browser:

Install PHP
The next step is to install PHP with MySQL support. Again, one line:
sudo apt-get install libapache2-mod-php5 php5 php-pear php5-xcache php5-mysql php5-curl php5-gd
Once that’s done, let’s make sure that our upload and POST limitations on the server are increased, since we will be uploading zip files. Modify php.ini using the following:
sudo vi /etc/php5/apache2/php.ini
Look for the line:
post_max_size = 8M
and change it to:
post_max_size = 500M
Make a similar change for upload_max_file, changing it to 500M:
upload_max_filesize = 500M
Restart the Apache service with:
sudo service apache2 restart
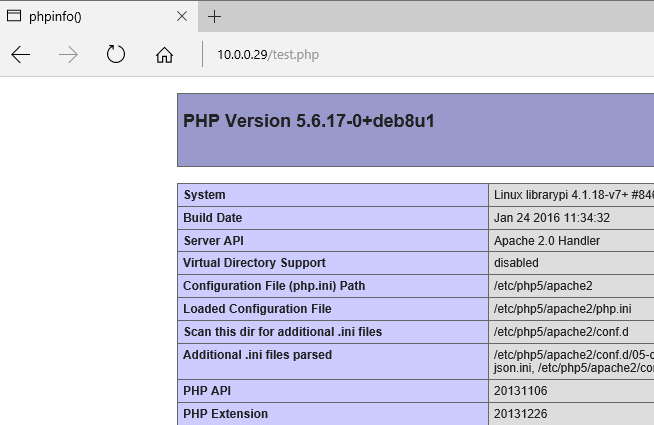
To test PHP, create a file named test.php in the /var/www/html folder, and place in it this line:
<?php phpinfo(); ?>
Then run this in your browser (http://10.0.029/test.php in my case), and you should see the PHP information page:
Install MySQL
Another one-liner:
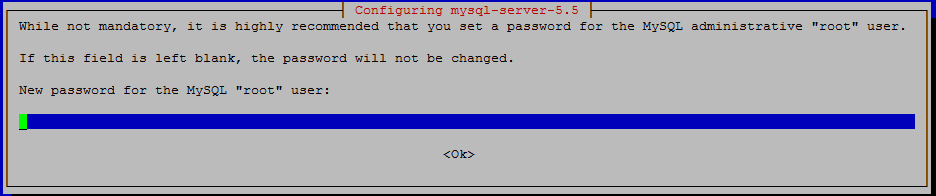
sudo apt-get install mysql-server
Installation will ask you for a new root password (Note: In my demos, I use a password of OfEvil! ):
While I opted to use MySQL Workbench on my Windows PC for connecting to the Raspberry Pi, you can install the MySQL client tools on the Raspberry pi using the following command:
sudo apt-get install mysql-client
In order to allow root to login from a remote computer, run the mysql program on the Raspberry Pi:
mysql -u root -p
You will be prompted for the MySQL root password you entered on setup, and then you should get a MySQL prompt. Enter the following:
GRANT ALL PRIVILEGES ON *.* TO ‘root’@’%’ IDENTIFIED BY ‘password’;
Again, password is the one you entered for root ( OfEvil! in my demos). You can type quit to leave the mysql program.
To allow mysql to accept remote connections, edit the /etc/mysql/my.cnf file, and add ‘#’ to make the following line commented out:the line below (add # to the front):
sudo vi /etc/mysql/my.cnf
locate this:
bind-address = 127.0.0.1
and change to this:
#bind-address = 127.0.0.1
Restart MySQL with the following command:
sudo service mysql restart
MySQL WorkBench
In MySQL Workbench ( https://dev.mysql.com/downloads/workbench/ ), test by making a new connection:

Enter in the IP Address for the Raspberry Pi, the ‘root’ login, and the password in the vault:
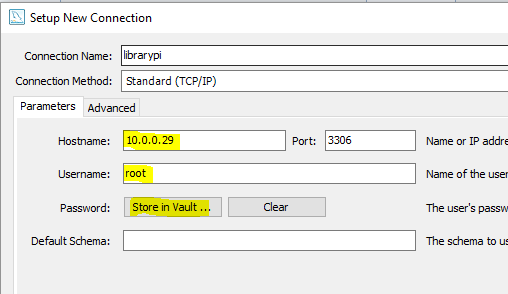
Press Test Connection, and you should be good:

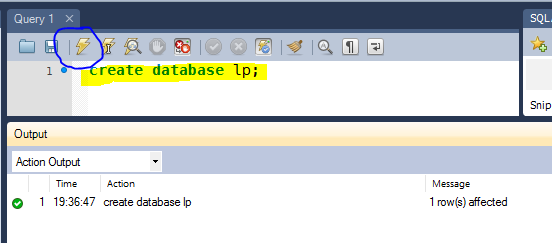
Make the connection, and you can now enter the following as a test to create a new database:
PHP Uploads and zip setup
LibraryPi will allow you to upload zip files containing images of book pages. We want to setup the storage area for the uploaded files. Create a folder to hold the uploads:
sudo mkdir /var/www/html/uploads
We want to change the owner of this directory, and grant access to the apache service. First, use this to identify the username that apache is running under:
ps aux | egrep ‘apache’

We can see that the username is www-data. Now, change the owner of the new uploads folder to that user:
sudo chown www-data /var/www/html/uploads
We should now be able to write the PHP code that will accept uploads and store them into the uploads folder for further processing. We also want to allow our pi user to FTP and upload files to this folder. A simple (but not robust or secure) way of doing this is to give the pi group and add full access to that group:
sudo chgrp pi /var/www/html -R
sudo chmod -R g+rwx /var/www/html
You can go to Stage 1 now and see how the PHP files operate and work.